#24 Building a Fast Image Converter with Next.js and Sharp
/ 4 min read
Updated:In today’s digital landscape, the need to convert images between various formats is commonplace. To address this, I developed an Image Converter Tool that streamlines the process, allowing users to effortlessly transform images into formats like JPG, PNG, WebP, and PDF. This blog post delves into the technical architecture of the application, highlighting key components and code implementations.
Link to the live demo: Image Converter Tool (Main Domain) OR Image Converter Tool (Vercel Domain)
Link to the source code: GitHub Repository
Application Overview
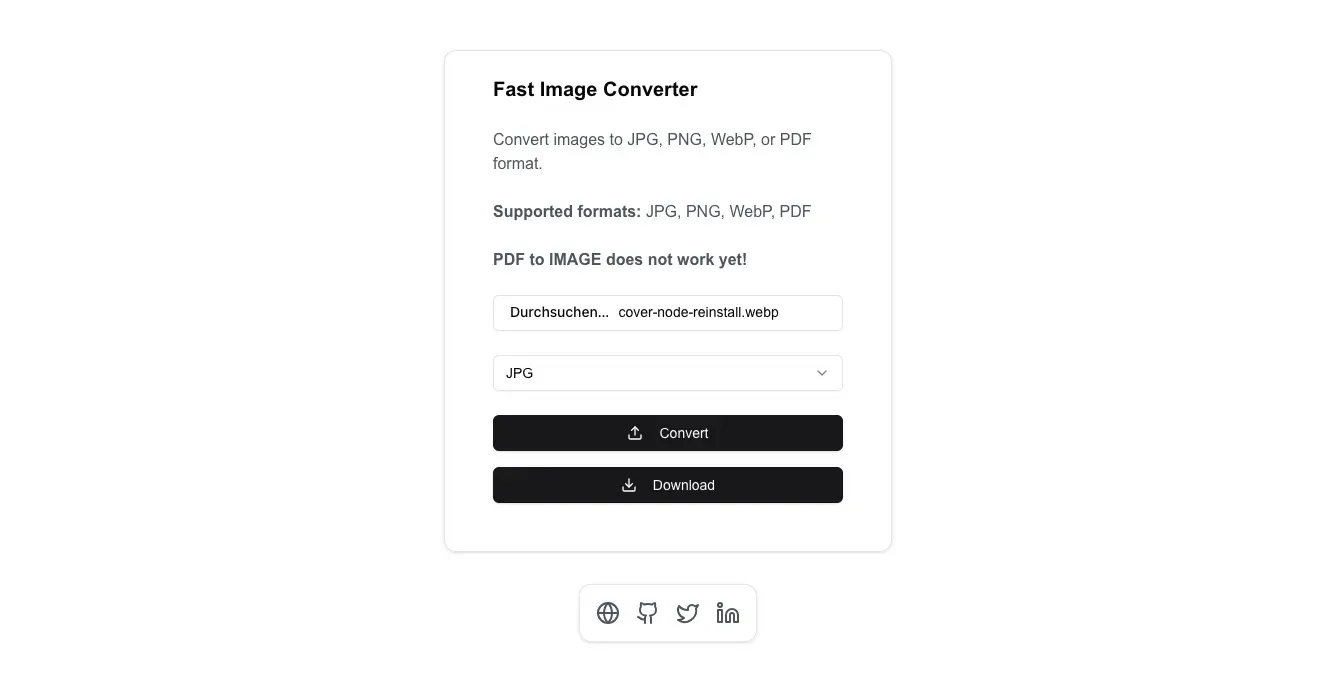
The Image Converter Tool is a web-based application built using Next.js, React, and TypeScript.
It provides a user-friendly interface for uploading images and converting them to the desired format.
The backend leverages the sharp library for image processing and jspdf for PDF generation.
Frontend Implementation
The frontend is structured around a React functional component that manages the user interface and handles user interactions.
The primary component, WebPConverter, is defined in app/page.tsx.
State Management
State is managed using React’s useState hook to track the selected file, conversion format, conversion status, and the resulting converted file URL.
const [file, setFile] = (useState < File) | (null > null);const [convertedFile, setConvertedFile] = (useState < string) | (null > null);const [format, setFormat] = useState('jpg');const [isConverting, setIsConverting] = useState(false);File Selection
The handleFileChange function updates the file state when a user selects a file, and resets the convertedFile state to null to clear any previous results.
const handleFileChange = (e: React.ChangeEvent<HTMLInputElement>) => { const selectedFile = e.target.files?.[0]; if (selectedFile) { setFile(selectedFile); setConvertedFile(null); }};Format Selection
The Select component from the UI library allows users to choose the desired output format.
The onValueChange prop updates the format state accordingly.
<Select onValueChange={setFormat} defaultValue={format}> <SelectTrigger> <SelectValue placeholder='Select format' /> </SelectTrigger> <SelectContent> <SelectItem value='jpg'>JPG</SelectItem> <SelectItem value='png'>PNG</SelectItem> <SelectItem value='webp'>WebP</SelectItem> <SelectItem value='pdf'>PDF</SelectItem> </SelectContent></Select>Conversion Process
The logic for handling image conversion is separated from the client side and is handled by the route.tsx file in the api folder.
Upon clicking the “Convert” button, the handleConversion function is invoked.
This function performs the following steps:
-
FormData Creation: A
FormDataobject is created, appending the selected file and desired format. -
API Request: An asynchronous POST request is sent to the
/api/convertendpoint with theFormDatapayload. -
Response Handling: The response is processed into a blob, and a URL is generated using
URL.createObjectURL. This URL is then set in theconvertedFilestate for user access.
const handleConversion = async () => {  if (!file) return;  setIsConverting(true);
  try {    const formData = new FormData();    formData.append('file', file);    formData.append('format', format);
    const response = await fetch('/api/convert', {      method: 'POST',      body: formData,    });
    const blob = await response.blob();    const url = URL.createObjectURL(blob);    setConvertedFile(url);  } catch (error) {    console.error('Conversion failed:', error);  } finally {    setIsConverting(false);  }};
Backend Implementation
The backend is responsible for processing the image conversion requests.
The POST function in the API route handles the incoming requests.
Request Handling
The function begins by parsing the incoming FormData to extract the file and desired format.
const formData = await request.formData();const file = formData.get('file') as File;const format = formData.get('format') as string;Buffer Conversion
The uploaded file is converted into an ArrayBuffer and then into a Buffer for processing with sharp.
const bytes = await file.arrayBuffer();const buffer = Buffer.from(bytes);Format Validation
A helper function, isValidImageFormat, checks if the requested format is among the supported image formats (jpg, png, webp).
function isValidImageFormat(format: string): format is ImageFormat { return ['jpg', 'png', 'webp'].includes(format);}Image Conversion
Depending on the desired output format, the function processes the image accordingly:
- PDF Conversion: If the target format is PDF, the image is first converted to PNG using
sharp. Then,jspdfis used to create a PDF with the image embedded.
if (format === 'pdf') {  const pngBuffer = await sharp(buffer).png().toBuffer();  const metadata = await sharp(pngBuffer).metadata();  const { width = 595, height = 842 } = metadata;
  const doc = new jsPDF({    orientation: width > height ? 'landscape' : 'portrait',    unit: 'px',    format: [width, height],  });
  const imageData = `data:image/png;base64,${pngBuffer.toString('base64')}`;  doc.addImage(imageData, 'PNG', 0, 0, width, height);
  const outputBuffer = Buffer.from(doc.output('arraybuffer'));
  return new NextResponse(outputBuffer, {    headers: {      'Content-Type': 'application/pdf',      'Content-Disposition': 'attachment; filename="converted.pdf"',    },  });}
TL;DR
- The Image Converter Tool is a web application built with Next.js and React that allows users to convert images between various formats.
- The frontend provides an intuitive interface for uploading images and selecting the desired output format.
- The backend leverages
sharpfor image processing andjspdffor PDF generation. - By combining these technologies, the application delivers a seamless image conversion experience.
Any Questions?
Contact me on any of my communication channels: